A recent Reddit thread in r/askaplumber highlights just how tricky measuring a toilet rough-in is. One user shared their experience measuring from the wall and concluding they needed a 14” rough-in toilet only to have a plumber recommend a 12”.
“Should I have measured from the baseboard instead?”
The top-voted response clarified the issue, “rough-in measurements should always be taken from the finished wall, not the baseboard or stud wall. If your measurement from the finished wall to the center of the toilet flange is 14”, then you need a 14” rough-in toilet—plain and simple. Anything shorter could leave you with an awkward gap behind the toilet or an improper fit.”
This kind of confusion is exactly why we created this guide. The Best Plumbers want to give you clear, no-fluff instructions so you get it right the first time.
Key Takeaways:
- Common rough-in sizes are 10 inches, 12 inches, or 14 inches. Most toilets use a 12-inch rough-in.
- Your toilet needs space on both sides. Measure 38 cm from the center to each side to avoid crowding the walls.
- Some bathrooms don’t follow standard sizes. If your rough-in is 11″ or 13″, you might need an offset flange or small plumbing changes.
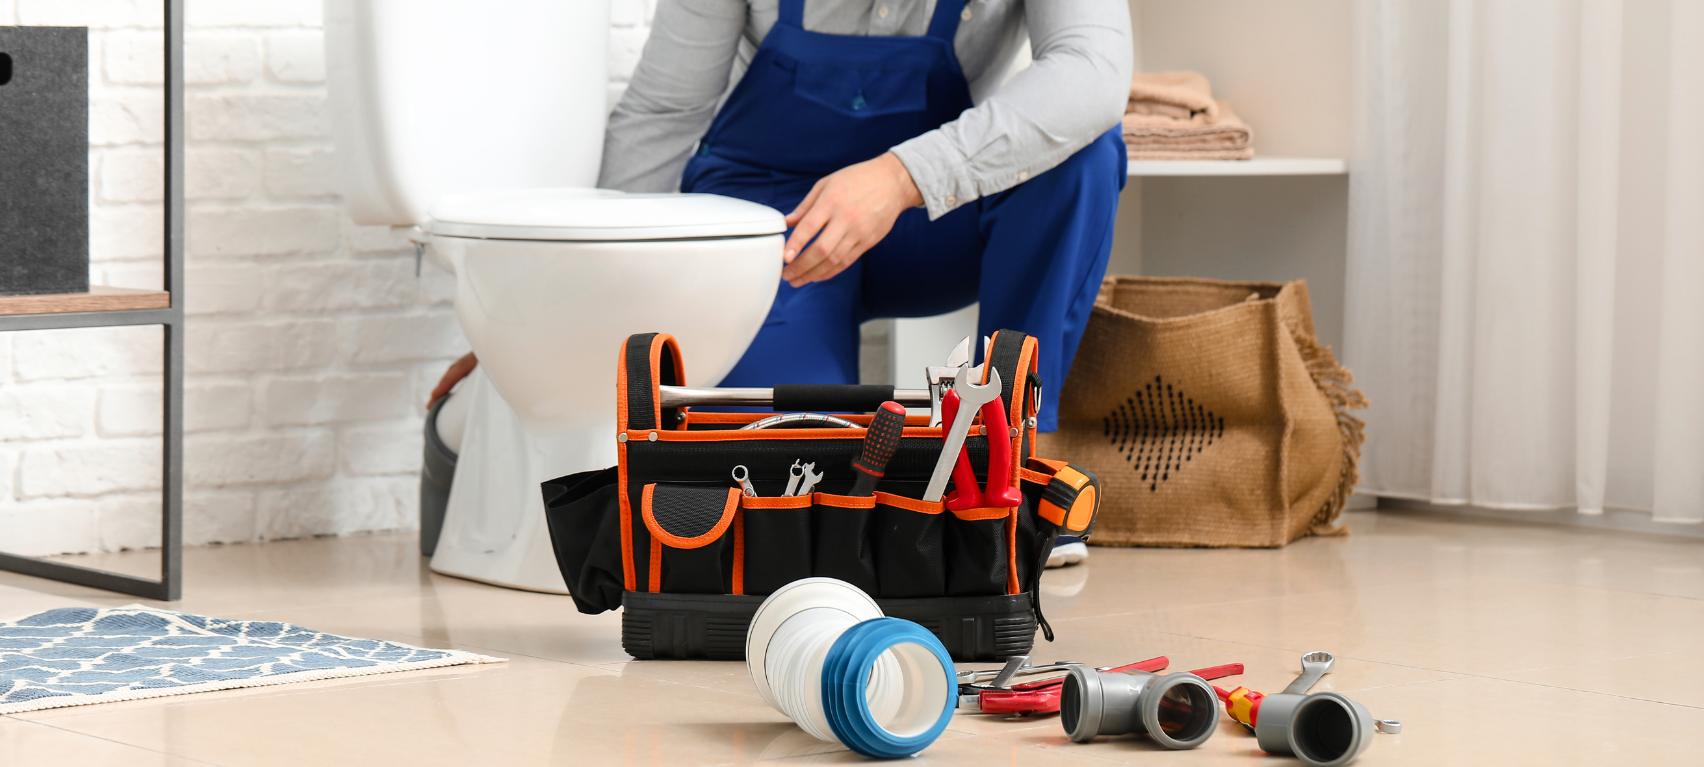
Tools and Materials for Measuring a Toilet Rough-In
| Tools | Used for: |
| Pencil and Notepad | To jot down measurements and clearance notes. |
| Masking Tape (optional) | To mark positions on the floor or wall. |
| Level | To check if the floor is even, especially around the drain. |
| Gloves | Useful if inspecting or clearing around an old flange. |
Step-by-Step Guide to Measuring Your Toilet Rough-In
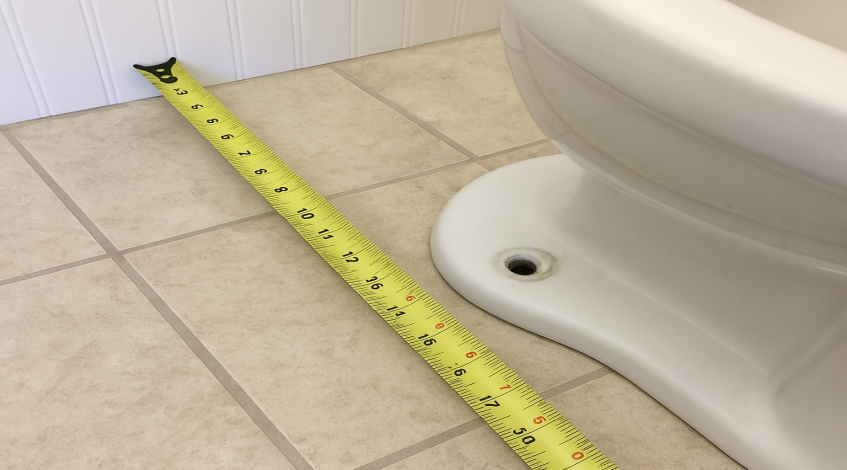
Step 1: Find the Finished Wall
Locate the wall behind where your toilet will sit. This should be the finished wall. It includes tiles, panels, or any final surface that will remain in place after installation.
Step 2: Position the Tape Measure
Place the end of your tape measure flat against the finished wall, not the baseboard.
Step 3: Measure the Center of the Drain
Extend the tape measure straight out to the center of the toilet’s floor drain (also called the flange). This distance is your rough-in measurement.
Step 4: Note the Measurement
Common rough-in sizes are 10 inches, 12 inches, or 14 inches. Most toilets use a 12-inch rough-in.
Step 5: Check Left-to-Right Clearance
Your toilet needs space on both sides. Measure 38 cm from the center of the toilet to the left and right—this is the minimum clearance needed to avoid crowding walls, the bathroom vanity that you want to install, or other nearby fixtures.
Step 6: Make Sure There’s Space in Front
H3: You also need enough space in front of the toilet for comfort and functionality. A clearance of 53–63 cm is a safe minimum to allow legroom and avoid interference from doors or fixtures.
Step 7: Double-Check for Obstacles
Confirm there are no obstructions like pipes, studs, or uneven flooring that could affect installation.
Contact the Best Plumbers for your Bathroom Renovations
You don’t have to do it yourself. A plumber can guarantee that one try is all you need to move forward.
If you’re planning bathroom plumbing and renovations, it’s worth connecting with a great professional plumber close to you, and Best Plumbers Club can help you find the right fit. Best Plumbers is a highly selective directory featuring only the most trusted plumbers. Enter your details, click submit, and a qualified plumber will contact you directly. Start your search with Best Plumbers today.
Frequently Asked Questions
What should I do if my rough-in measurement doesn’t match standard toilet sizes?
Not all bathrooms are built to standard specs. If your rough-in is slightly off (like 11″ or 13″), you may need a toilet with an offset flange or consider minor plumbing adjustments.
Can I measure the rough-in with the old toilet still in place?
Yes, you can. Measuring from the finished wall to the bolts securing the toilet gives you an estimate without removing the fixture.
How does flooring thickness affect rough-in measurement?
If your final flooring (like tile or hardwood) isn’t installed yet, it can alter the rough-in distance. Always measure from the finished wall and finished floor height to avoid fit issues later.