Do you know where the bathroom vanity got its name from? The answer is pretty funny – because the first London cabinet maker who put one together actually called it a ‘toilet table’. It’s no surprise that the much nicer name of today then evolved – but in this piece, we’re not going to further probe the exciting history of the bathroom vanity. Instead, we’re going to take a quick look at how to install bathroom vanity plumbing.
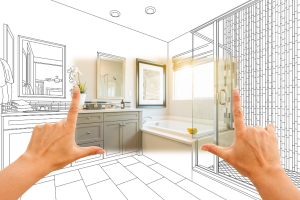
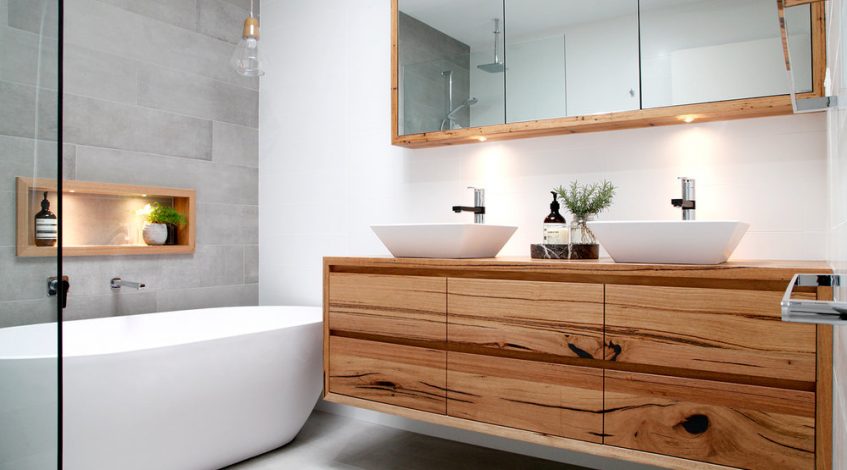
The Heart of a Bathroom Makeover: Your Vanity
A bathroom upgrade gives them the most satisfaction for the least amount of money spent. The vanity is ranked as the centerpiece of a bathroom makeover. While statistics prove its value, the real transformation happens when you roll up your sleeves and install one yourself. Choosing from quality options like vanities on Buildmat makes the process even easier.
Some say bathroom renovations should always be left to the pros, while others argue that DIY projects save money and offer a greater sense of accomplishment. The beauty of this project is that it’s not too technical, but it delivers the kind of impact you’d expect from a pro.
That said, not everyone wants to pick up a wrench, and sometimes the simplest solution is to hire help. The most efficient way to avoid mistakes is to call in the people who do this every day. You can either:
- Call a plumber
- Call a cabinet installer.
Preparing for Your Vanity Plumbing Project
Indeed, it may be necessary to – first of all – get a plumber to do or adjust the basic plumbing as necessary. If you’re going to get a start with that sink drain plumbing yourself with a relatively straightforward job, make sure to:
- Turn off the supply of water, normally by locating the valves which are underneath the existing sink
- If you can’t find the valves, turn off the mains and then drain any water that remains in the pipes by turning on the taps
- Place a bucket under the P-trap to catch any water
- Disconnect the water supply lines by using a wrench
Then, proceed with removing the existing vanity – and then move on to the exciting part – your DIY attempt at your own vanity plumbing & installation:
Bathroom vanity plumbing – 5 easy steps
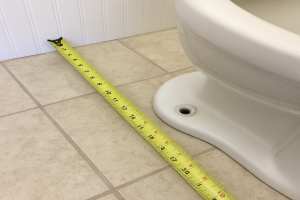
Step 1 – Measure
With a measuring tape and pencil, mark out where you will be installing your bathroom vanity, which will then show you where the plumbing pipes need to be positioned. Remember to measure from the vanity’s edges to the middle of the pipes – not the edges.
Step 2 – Cut
Next, you’ll be cutting the access holes for those vanity pipes. If it’s possible to remove the vanity’s backing panel, that will make the task easier. Then, use the measurements you took in Step 1, apply them to the base and use a hole saw for the cutting. If you took the back panel off, put it back on and then put the vanity in place over the pipes.
Step 3 – Install
Before proceeding to actually attach the vanity to the wall, check that the unit is level. Once you’re sure, use a hammer drill to make two holes for screws through the vanity’s back rail, and fill the holes with wall plugs. Now you’re ready to use the screws to attach your new bathroom vanity. Double-check that your vanity is still level, and then finish off the job by putting all the doors, benches, sinks and drawers in place.
Step 4 – Tapware installation
If your vanity requires separate tapware installation, you’ll have to do this as well – and every installation will differ depending on the tap type, brand and model you’ve selected. In most cases, it’s a case of putting together all the elements, including the spindle and the handle. You’ll also need to connect the tap with its threaded post, feed it into the vanity hole, and making sure it’s a snug fit with everything done up tightly.
Step 5 – Call a great plumber
Apart from changing the odd washer, most plumbing work in Australia actually requires the professional support of a licensed plumber. But the good news with bathroom vanities is that – generally – you can proceed without consent as long as the number of sanitary fittings is not changing. Just remember that the most important thing is when turning your mains back on because plumbing installation errors can be really messy.
How to install a vanity – Best Plumbers can help!
Many homeowners find that with quality vanities and pre-planning, the installation process feels more approachable. However, if you still need a plumber to handle bathroom vanity plumbing, it’s always best to rely on trusted, verified professionals and local plumbers near you. Best Plumbers Club is the place to start.