One of the simplest ways to give your bathroom a refresh is to install new fixtures and fittings including changing the shower head.
Shower heads generally last for years, but their appearance can become worn and dated. Popular replacement shower heads in Australia are produced by Mondella, Caroma, Posh and Mizu. Modern designs can reduce the amount of water used and still deliver a great shower. Saving water and money on bills is a great reason to replace a shower head if yours is particularly old.
Interestingly, this task is one of the most straightforward DIY plumbing jobs you can handle in your home, plus it does not require any technical know-how to execute.
What tools do you need to change a shower head?
With the following plumbing tools, you can conveniently change your shower head;
- A Ladder or stool
- Thread tape
- Shifting spanner
- An old toothbrush, a wire brush, or a damp paper towel
- Soft jaw pliers to safeguard the finish
- A replacement shower head
How do you change a shower head?
Now that you know what to set aside for this task, let us talk about how to replace your old shower head. Start by checking out the instructions that come with your new shower head. In some cases, you may need to assemble the different components or fix an external rubber washer. In other cases, you may need to join the shower head to an extension arm.
The installation instructions below are for changing shower heads mounted to a wall.
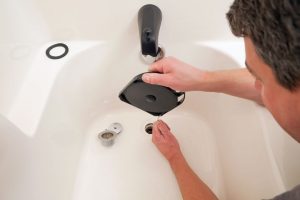
- Only remove the existing shower head after turning off the tap. This does not require you to turn off the main water supply, only the tap to be replaced has to be in the “off” position.
- Now, proceed to unscrew the existing shower head. Depending on the duration of use, the existing shower head could be corroded and difficult to unscrew. In this case, a shifting spanner will come handy. Turn the neck of the unscrewed shower head counter-clockwise to detach it. Avoid turning the pipe in the wall while at it. You may turn the shower head using your hand while holding the connecting pipe in place with your pliers. You can either use the soft jaw pliers or a soft cloth to protect the pipe.
- Get rid of excess dirt surrounding the threaded extension pipe after removing the old shower head. The ideal tool for this is either an old toothbrush, a wire brush, or a damp paper towel. It is essential to clean and dry the threads before applying the thread tape.
- The next step is to use the thread tape. Ensure that the threads are wrapped with sufficient tape, such that each layer covers half of the previous layer while wrapping up the threads. For best results, begin at the base while moving clockwise, wrap around twice, and maintain the same sequence until you get to the end of the threads. Note that wrapping counter-clockwise will unravel the tape when you try to screw on the new shower head. In cases where you run short of tape, unwrapped the already wrapped tape and start again, this time with a longer tape. You can smooth the tape into the threads by squeezing both the threads and tape between your forefinger and thumb. The role of the tape is to seal the connection between the pipe in the wall and the new shower head. This ensures that there is no leak after installing the replacement shower head.
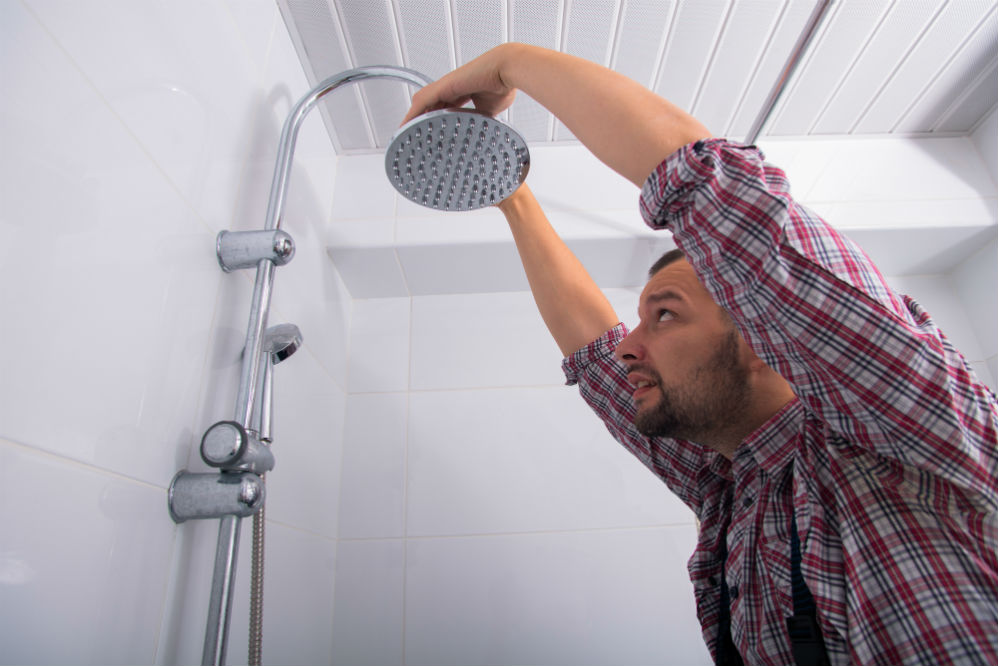
- Fix the replacement shower head in place. Again, check for the manufacturer’s instruction before proceeding. There are shower heads you can securely fasten without using a shifting spanner. In this case, you only need to hand-screw it clockwise onto the threads. And once it is in place, hand-tighten it a quarter turn. Anything further than this might break the connecting nut.
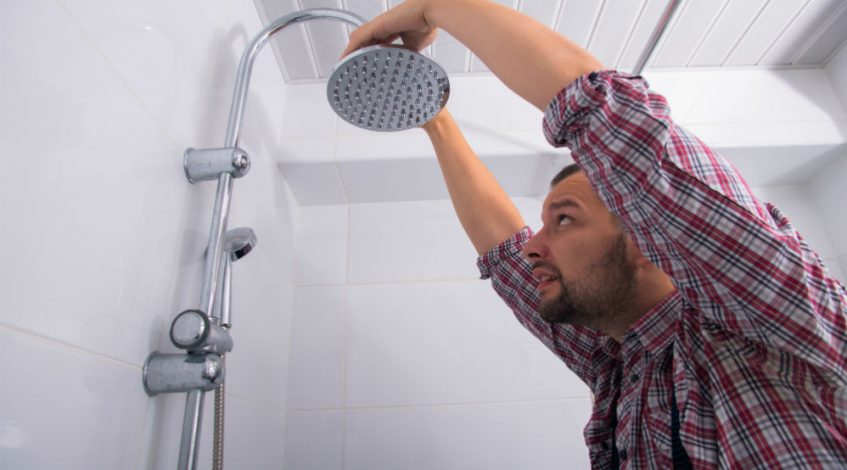
- Now you can turn the tap on, but before that, move away and angle the shower head at a far distance from you. Now, turn on the cold and hot taps.
- Watch out for water leaks. If any, check that the shower head is tightened enough. If it is, ensure that the threads are wrapped with enough tapes. Also, it could be that the rubber seal is damaged or not adequately fixed. Make sure to check that the thread tape was not displaced while you were installing the shower head. Depending on the problem, you may need to turn off the tap and re-tape/re-tighten the shower head. Any leak after this will indicate a damaged component.
With these steps, you should have your new shower head installed and ready to use. You may experience low water pressure if there are leaks or some other obstructions. To fix, follow the instructions in the last step. But if it’s still persistent, its time to call on recommended local plumbers.
Brisbane plumbers, Penrith plumbers, Newcastle plumbers, Adelaide plumbers – no matter where you are Best Plumbers Club has you covered!